It's been a while since my last update. Since I knew I wouldn't able to complete my project for the Space Opera art challenge in time, I've been taking it a bit slower. I wanted to continue this project after learning so much, but I also wanted to complete it to a high standard. So here we go!
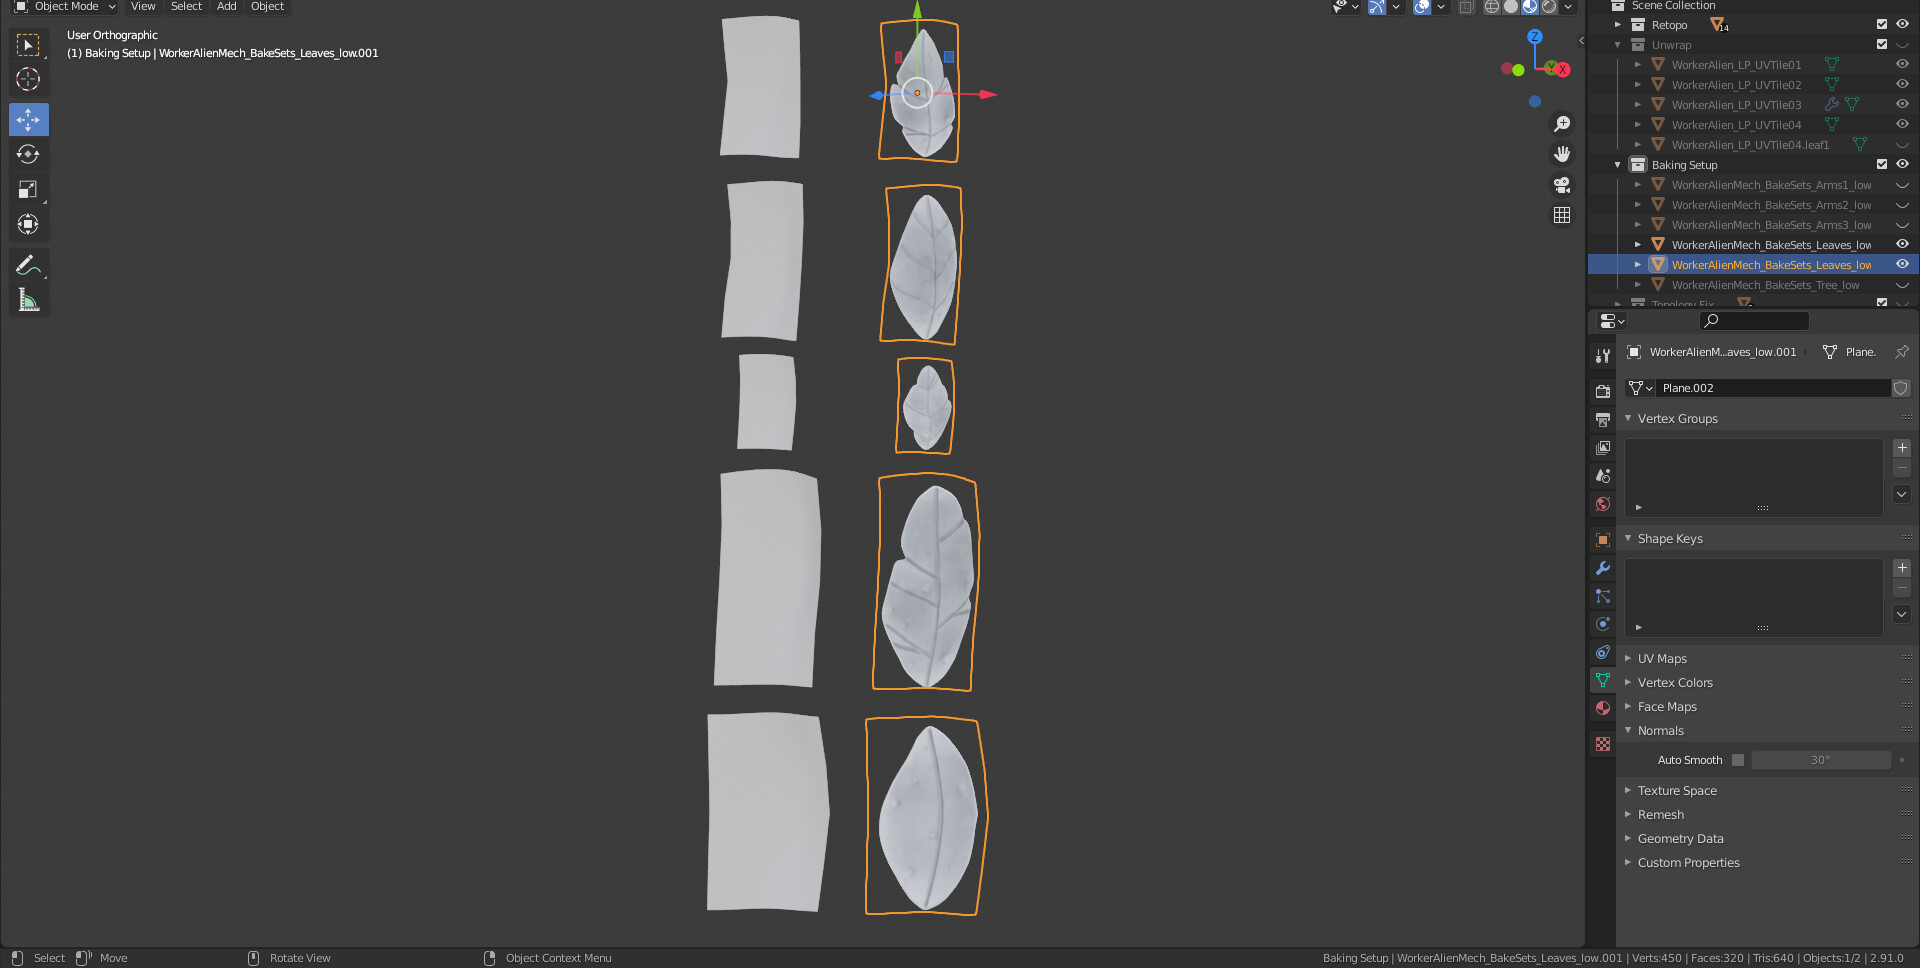
First: leaves! I showed sculpts of my tree leaves in an earlier post, but now I converted them into poly-cards, baked them and arranged them on the branches of the brain tree. It was a relatively easy process.
Next, I arranged them around the branches, making sure there was an even variety spread across each branch to avoid obvious repetition. Then, I used the Grab tool in Blender's Sculpt Mode to lightly nudge the form of some leaves to further remove repetition.
Next: an update on the retopology. Last time, I mentioned that after retopologising, my model was at 160K. However, I reworked it, pushing it further down to a 131,919 tri-count total. It still wouldn't have been enough to meet the Challenge guidelines, but I believe I've achieved the most optimal tri-count for this design. I think any further reduction would not be possible without baking errors or reduced depth/form across the hard surface segments.
Below is the result of the UV unwraps. This was a painstaking process, as there was a lot of separate parts to squeeze in. Initially, I tried to follow the Challenge's guidelines in sticking with two 4k UV tiles. However, on my first test bake, the level of detail across the model was inconsistent and unsatisfactory. Since I dropped out of the challenge, I decided to add an extra UV tileset for the tree and cloth part. After rearranging the UV sets, I did a second test bake, and it was a much better result.
Currently, I'm using three 4K Texture Sets for the Main Body, Cloths, Tree and Arms. The leaves share one 1K Texture Set.
Finally, the baking. The baking process was very tedious and a real challenge for this project, as I haven't baked a 3D asset before with this many intersecting pieces. A lot of trial and error went into this task, as I tried various attempts to make the baking process as smooth as possible. It took a few days, but eventually I managed to find a method. This involved separating the model into various baking groups, for both high-poly and low-poly counterparts respectively. Each group had to be carefully curated so there was zero intersecting meshes in each group. Once these were compiled, I imported them into Marmoset.
Marmoset is a very handy tool for baking, providing bake group folders that allow you to assign each bake group so the baked textures compile into a single texture map without separate maps overlaying each other. The other handy feature was the automatic cage file option, that you could edit within the Marmoset engine directly. This allowed me to fix baking artifacts within one program. Very useful.
Eventually, I finished baking everything with a high level of detail. There are still some parts that can be tweaked, but I will have to edit them manually within Photoshop because they can't be fixed in Marmoset.
Soon, I can finally begin texturing. This hard-working robot will finally get a splash of colour. :)