02 - Riley & Jimmy ~ Riley's Sculpting Progress

Work In Progress / 19 June 2024
Oh god, it's been 3 months since my last blog post. I've been making progress! Just work and life slowing down development.  So last time, I established my project goals and blockouts for both characters. Since then, I'd been focused on sculpting the botany girl, Riley. 

For the most part, the sculpting process has been straightforward, based on practices I have already learned and utilised beforehand. There were two main hurdles that challenged me:

1. Inconsistency in the concept sheet.
2. Creating the hairnet.

1. I noticed these inconsistencies early in the project. There's a variety of sketches of Riley, so intially, I was going to focus on the 3/4 quarter view of her standing. However, there were too many irregularities for me to rely on this concept alone (highlighted above.) It was not a tall hurdle, but it meant I had to pay more attention to measuring the proportions of Riley from each viewpoint. Also, due to the multiple layers of clothing closely sticking to her body and her poofy sleeves, I had to make sure the clothing was aligned and set up cleanly in a way to make skinning/rigging less headache-inducing.

2. The bigger challenge was figuring out how to create the hairnet, in a fast, modular way that followed the pattern in the design. There was a lack of relevant tutorials or reference images of how the hairnet formed, so I asked fellow artists for ideas or guidance. (Massive thanks to you all!) After trial and error, I came up with a solution:

1. Create a single poly rotated 45 degrees, and convert into an array pattern along cylinder frame.

  2. Apply shrinkwrap to cylinder around sphere.

  3. Bring into ZBrush, convert every poly into individual polygroups.

  4. Subdivide mesh, then create curves via "Mesh by Frame" in the Strokes dock.

  5. Apply rope IMM brush along the curves.

  6. Adjust accordingly, and create half-knots at each intersection.


After I figured this out and did a jumpkick in celebration, the rest of the process was simple. 

Regarding the hair strands, I'm still considering testing if loose hair cards would work for Riley's hair, but I thought I should sculpt the hair for now to reduce flatness in detail. I can see test whether I can combine hair cards with this detail, reduce the detail in the sculpt, or remove hair card implementation for Riley.

...aaaaand now here's a step-by-step shot:

I think it looks faithful so far to the original design. There could be areas for improvement, such as the folds in the backknot and adding tension folds in the hairbun, but I will leave Riley as is for now before I start losing interest. Next up, I'll either work on her shovel prop or make a start on scupting Jimmy the bird!

Report

01 - Riley and Jimmy ~ Blockout

Work In Progress / 26 March 2024

Hello! This is a new real-time character art project I'm moseying on with in my spare time. I wanted to exit my comfort zone with character art workflows, so when I found this adorable character concept by the artist p mt, and I knew I wanted to learn from adapting this character into 3D. 

(Source: https://www.artstation.com/artwork/rJGw8E?collection_id=446233)
(Artist: p mt)


My project aims for this project are:

  1. Model a complex character.
  2. Learn how to create hair/feather cards.
  3. Learn how to set up and render a character in UE5.

Goal 1 is designed to challenge the modelling/sculpting techniques I've learned so far. Goal 2 and 3 are both areas I've only researched but lack experience with. The tricky part with this concept is determining how much I can stay faithful to the concept, because the bird's feathers are short, simple and cel-shaded. Usually, characters in this style would just have their feathers/hair sculpted or handpainted, but I don't want to retread a workflow I already know. So this may consist in a low of experimenting on my own.

For now, I've created high-poly blockouts for both characters, aiming to match the proportions and prop sizes of the concept as much as I can. I know Jimmy (the bird) is gonna be the difficult half of the project, not just with matching the concept and goal aims, but also the amount of apparel he's carrying as part of his design. I'm gonna need to plan which parts will be separate and which will be connected by topology in the final model.

I can see some parts will need tweaking, but I think it's off to a decent start! 


Report

Astrid the Barrel: Tekken OC Character - Pre-production + Rough Concept

Work In Progress / 01 December 2021

Hello! In this post, I'll be going through my thought process for adapting my old character design for this Tekken project.

From my old project, this character had these traits;

  • Her name was Astrid.
  • She was of Scandinavian origin.
  • She was the owner of her own independent pub/tavern and brewery.
  • She grew up in a family that loved to wrestle and rough-house with each other, which is where she earned her strength overtime.
  • She has a brash but positive, fun-loving personality.

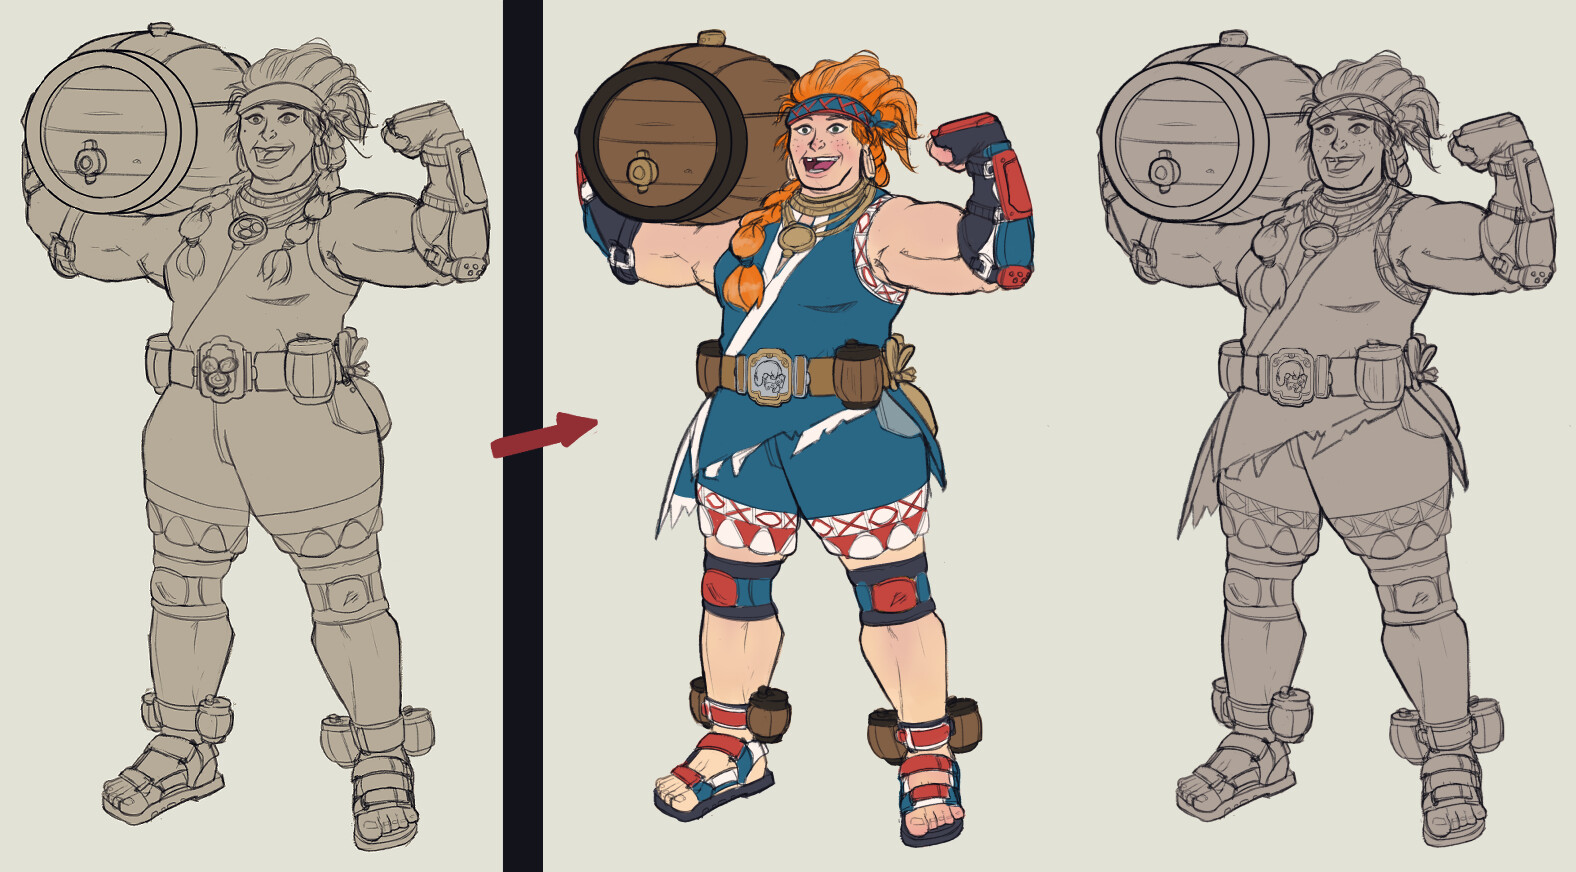
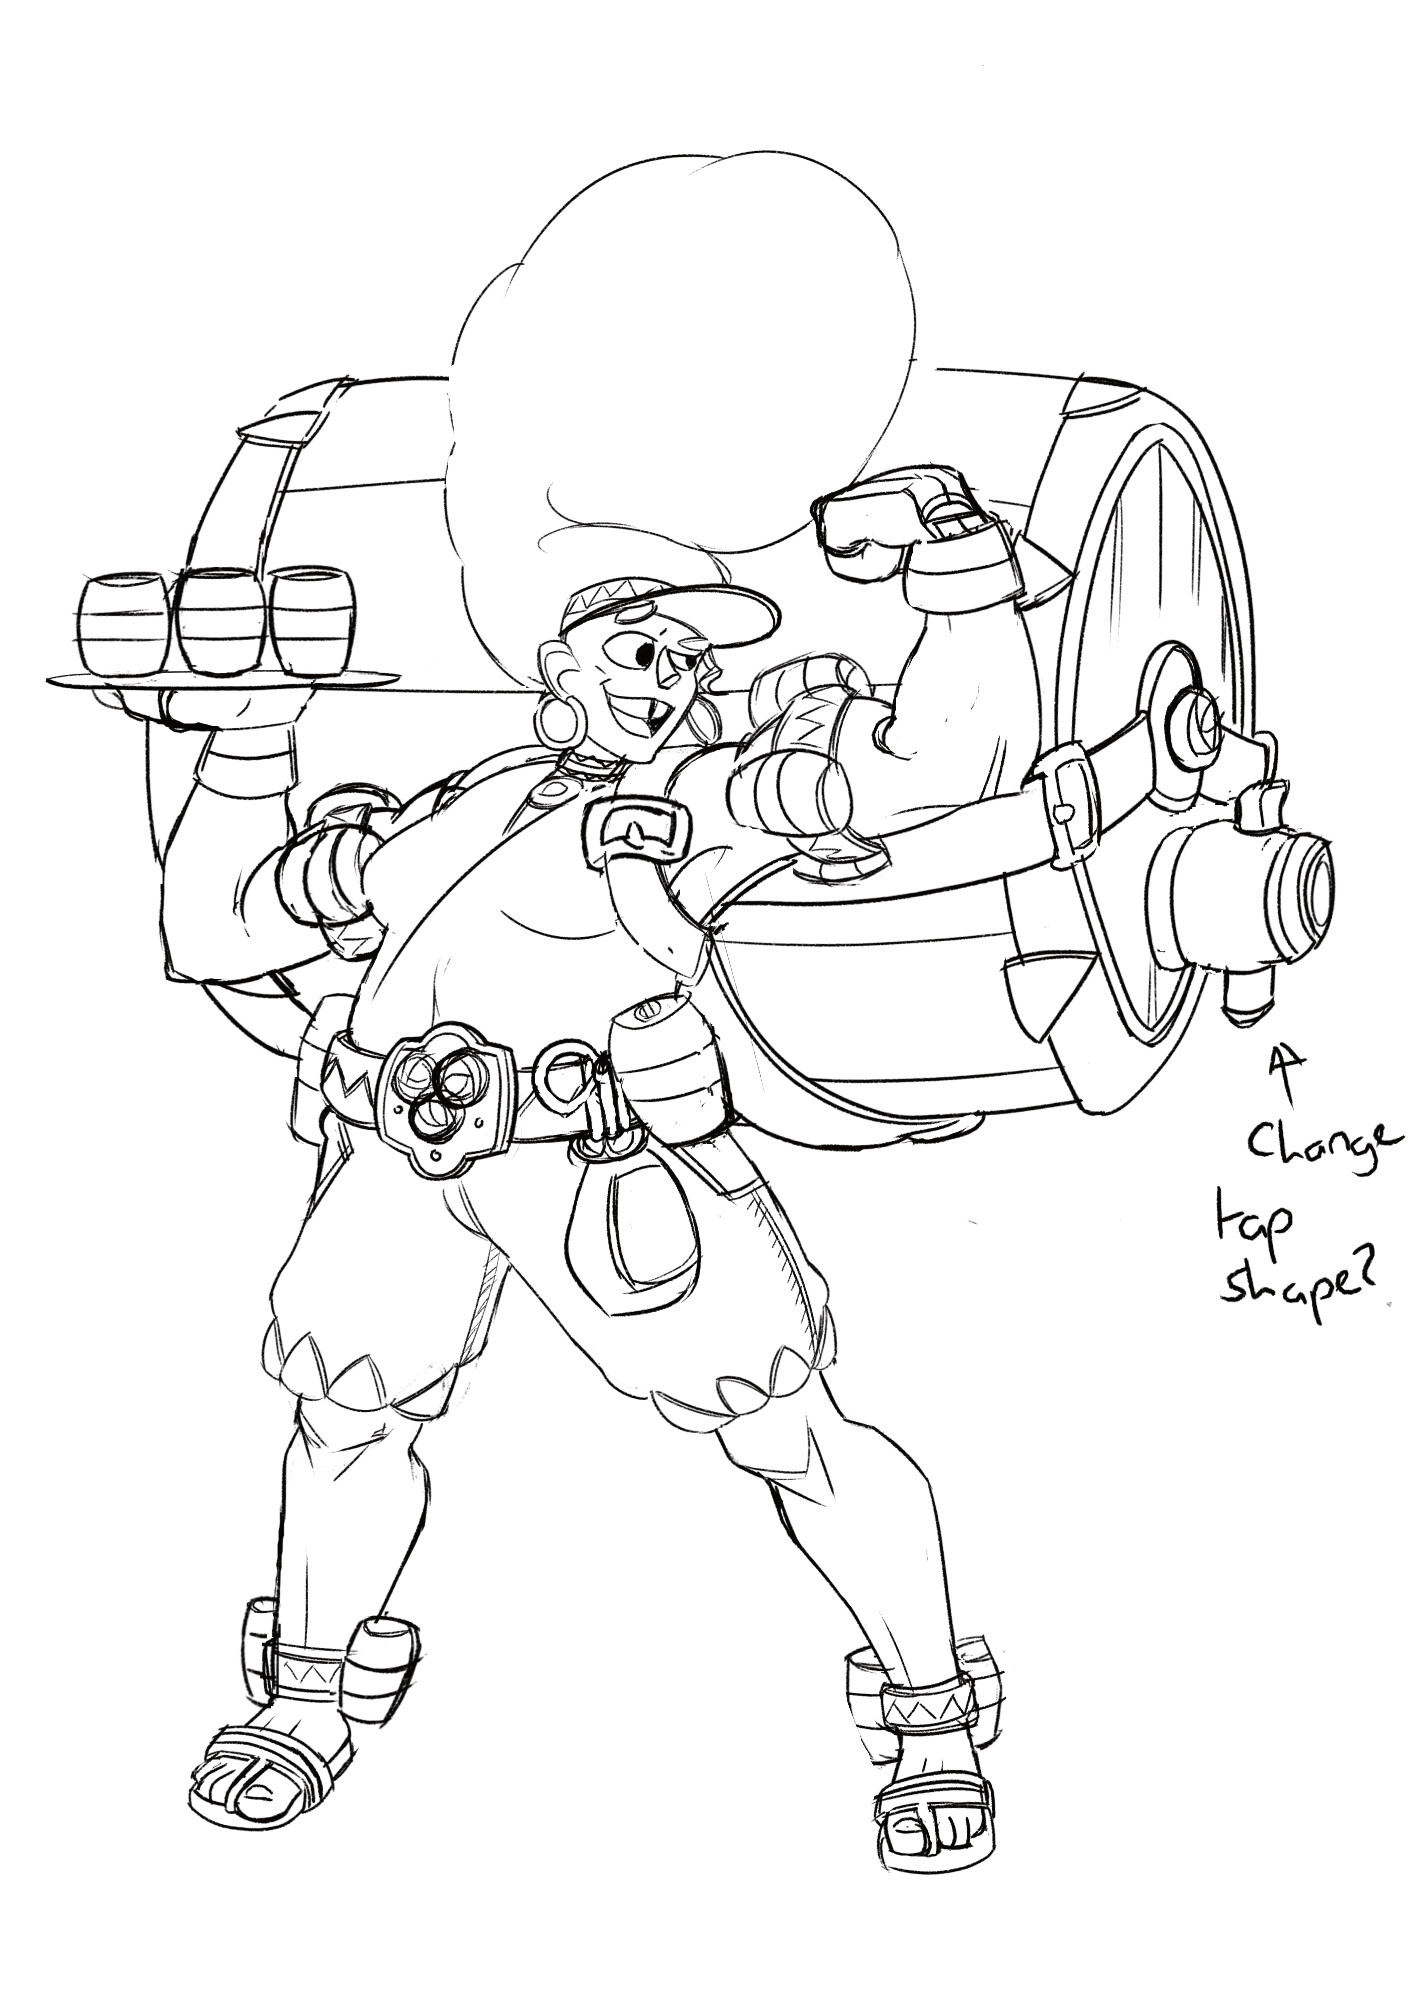
Keeping this as a basis, and from gathering references in a moodboard, I developed initial concepts. I wanted to showcase her personality in her face and posture. Regarding her costume, I wanted to make sure her arms and legs were exposed to establish her raw muscular strength. The beer barrels are based on her tavern owner occupation, plus I thought that they could be used as a prop if it were to be included in her fighting game moveset. The hair style went through a few iterations. Originally, I wanted to keep the wild afro hairstyle to emphasize her personality, but based on feedback from others, I was told I should think more about Scandinavian hairstyles to align more with her cultural origin.

After more concept iterations and feedback, I came down to this rough final concept. The colour scheme I chose was influenced by the flag of Iceland, one of the Scandinavian countries. However, this may not be final as my opinion might change later. 

This moodboard went through a lot of back-and-forth additions as I was working on Astrid's design, and may continue being amended if I find more reference material during the 3D creation process.

Can't wait to get start on the 3D model!

Report

Astrid the Barrel: Tekken OC Character - Breakdown

Work In Progress / 01 December 2021

Hello! In an effort to boosting my portfolio and knowledge of real-time character production skills, I started a new personal project. As my current portfolio consists mainly stylized characters, I was encouraged to tackle the challenge in designing and producing a high-detailed character sculpt and adapting it to real-time, mid-polycount constraints.

The project aims are:

  • To learn and study more in sculpting accurate human anatomy and adapting it into flexible topology for rigging purposes.
  • To conceptualise a unique character not commonly seen in the target video-game demographic.
  • To learn modern-day character art methods and programs I lack experience in, including: creating real-time hair cards; creating clothing in Marvelous Designer; to properly import a 3D character model and setup materials within Unreal; rigging a character.

I'd been ruminating a lot about not just what type of character I wanted to create, but also whether to choose a specific art direction, genre or video game series. At some point, I remembered old character designs I had from a shelved concept art project of mine, and one of them I thought would work really well for the purpose of this project.

This character concept was for a stylized fighting game character concept project. For the purpose of this project, I chose to adapt her style to fit the Tekken series' art direction. I chose the Tekken art style for these reasons:

  1. Tekken's fighting game roots allows me to retain my character's original traits without need for drastic changes. 
  2. Tekken's semi-realistic art direction is a solid foundation for my project, allowing me to reference an established character art style while trying to achieve my goal in learning and creating a high-detailed real-time character art piece.
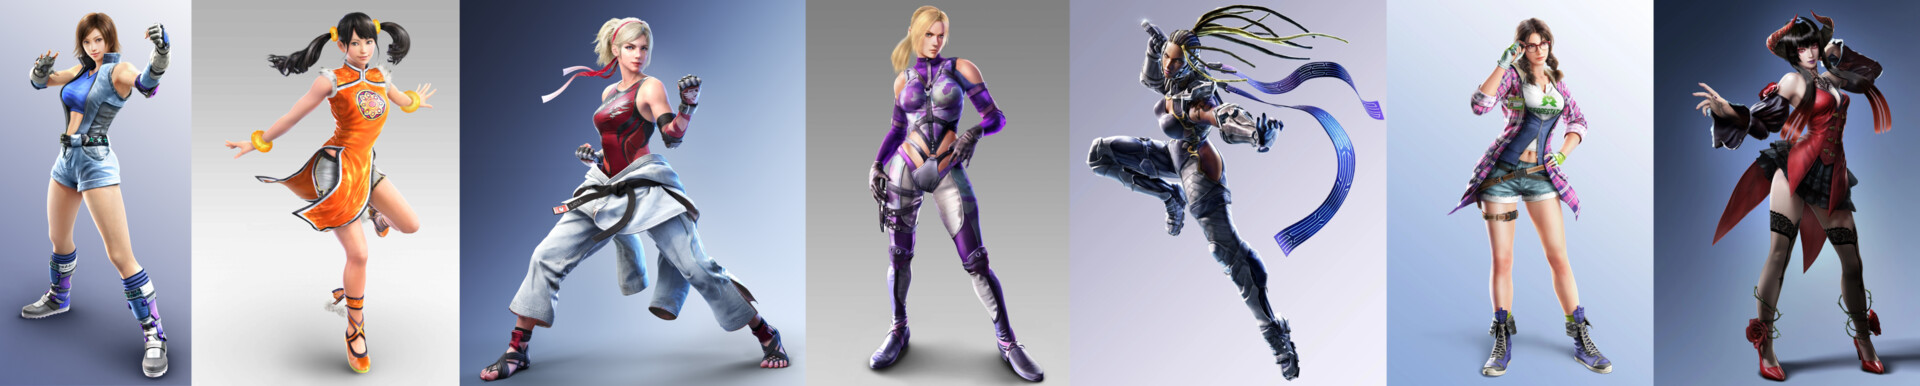
  3. From research, I noticed Tekken follows a trend in its female character designs. They tend to share the same body characteristics among each other; young, thin, lean and either cute, cool or sexualised. While not inherently bad designs, I believe they're afraid to get creative with their female character designs for the sake of marketing to an audience with specific tastes, while the roster of male character designs pulls from a wide variety of influences, body types and creative executions. (Technically, the only playable female character that heavily stands out from the others is the giant panda bear.) 

However, following from point 3, I see this as an opportunity to challenge my ability to design and create a female character that can fit within Tekken's art direction while pushing away the recycled design basis seen in the female roster. This is why I chose my old fighting character concept as a basis, as large, muscular women are not commonly seen in video games. 

However, I should also keep in mind what makes Tekken's female characters striking outside of aforementioned tropes; fun factor, striking appeal, personality, and distinct cultural origins. I should keep these factors in mind for my own character so that I do not lose sight of designing a unique design that would still fit within Tekken's roster.

Report

Texturing Progress (Artstation Space Opera Challenge 2021 - WIP Blog)

Work In Progress / 24 April 2021

It's been a while since the last update. I had begun texturing weeks ago, but other commitments had been taking up my time so it's been a slow process. However, I'd finally completed texturing recently so now's the best time to show the process, shot by shot.

The very first task was establishing the base colours and surface materials. I focused on the main body first, as the rest of the robot would be sharing similar colours/materials. This would save time as it'd be matter of transferring these finalised colours/materials to the other parts. I use Frédéric Arsenault's method of establishing the base colours, using gradient maps for the albedo. Takes a bit of experimentation to get the colours to appear the way you want them to in the 3D render. https://www.artstation.com/artwork/0XxxEE


These were the main materials I used, excluding a couple others that were used for minor components. To retain my original base gradient colours, I turned off the 'Base Colour' in the Material properties for each material but keep the Normals/Rough/Metal/etc.


Once I'd finally decided on the albedo colours, I applied them to the other components. Gradually, I applied various Substance materials to different parts, utilising either default materials or materials found on Substance Source. I wanted to add signs of age, wear and tear to visualise the worker alien's age and that it's been functioning in rough environments for a period of time. This involved playing with different parameters in material settings, combining Smart Masks, Fill Layers and Paint Layers to achieve the desired features.

To share one example: the cloth material.

I had only sculpted cloth folds that were baked into the normals map. To show signs of age, my approach was to show dampness and dirt from top to bottom in a gradient fashion. This involved fill layers with brownish-yellow hues and utilising paint brush alphas in the mask, as well as a gradient map from top to bottom to achieve this effect.

To take it one step further, I added a blur slope effect to the cloth's ink pattern to make the ink edges look like it bleeds outwards from the dampness. On top of this, I added a Sharpen filter and a Paint Mask layer to make some parts of the ink faded.

Overtime, I kept pushing the texturing further for the entire mesh until I was satisfied with the level of detail I wanted for the hard surface parts. However, the tree was one of the key features of this design, but I felt it was a little too basic in detail. Derailing from Lucian's concept, I added extra details such as tree moss, cuts and soil to make the tree stand out more and feel naturally integrated with the hard-surface robot. Below is a GIF of how I improved the tree.

(As a note to myself, the 'Height to Normal' filter in Painter is very useful for adding extra detail that you didn't have in the high-poly sculpt. I did this for the cuts and bumps in the brain tree.)
Because this is a 3D asset with video game limitations in mind, I was originally going to render this in the Unreal Engine. However, this project went on longer than I expected. I will do this at some point, but for the sake of time, I set up my lights, cameras and render parameters within Marmoset Toolbag.
And here, I've finally completed the texturing for the Worker Alien! I was hoping to complete this much sooner, but unfortunately, life gets in the way, haha. I did plan on rigging the Worker Alien for posing and rendering in Unreal Engine, which I will do in future. For now, I've rendered it in Marmoset Toolbag. In case you missed it, below is a link to the Worker Alien project. Peace!

https://www.artstation.com/artwork/R3o1LW
 

Report

13 - Leaves, Retopology Update, UV Unwrap + Baked Textures (Artstation Space Opera Challenge 2021 - WIP Blog)

Work In Progress / 09 March 2021

It's been a while since my last update. Since I knew I wouldn't able to complete my project for the Space Opera art challenge in time, I've been taking it a bit slower. I wanted to continue this project after learning so much, but I also wanted to complete it to a high standard. So here we go!

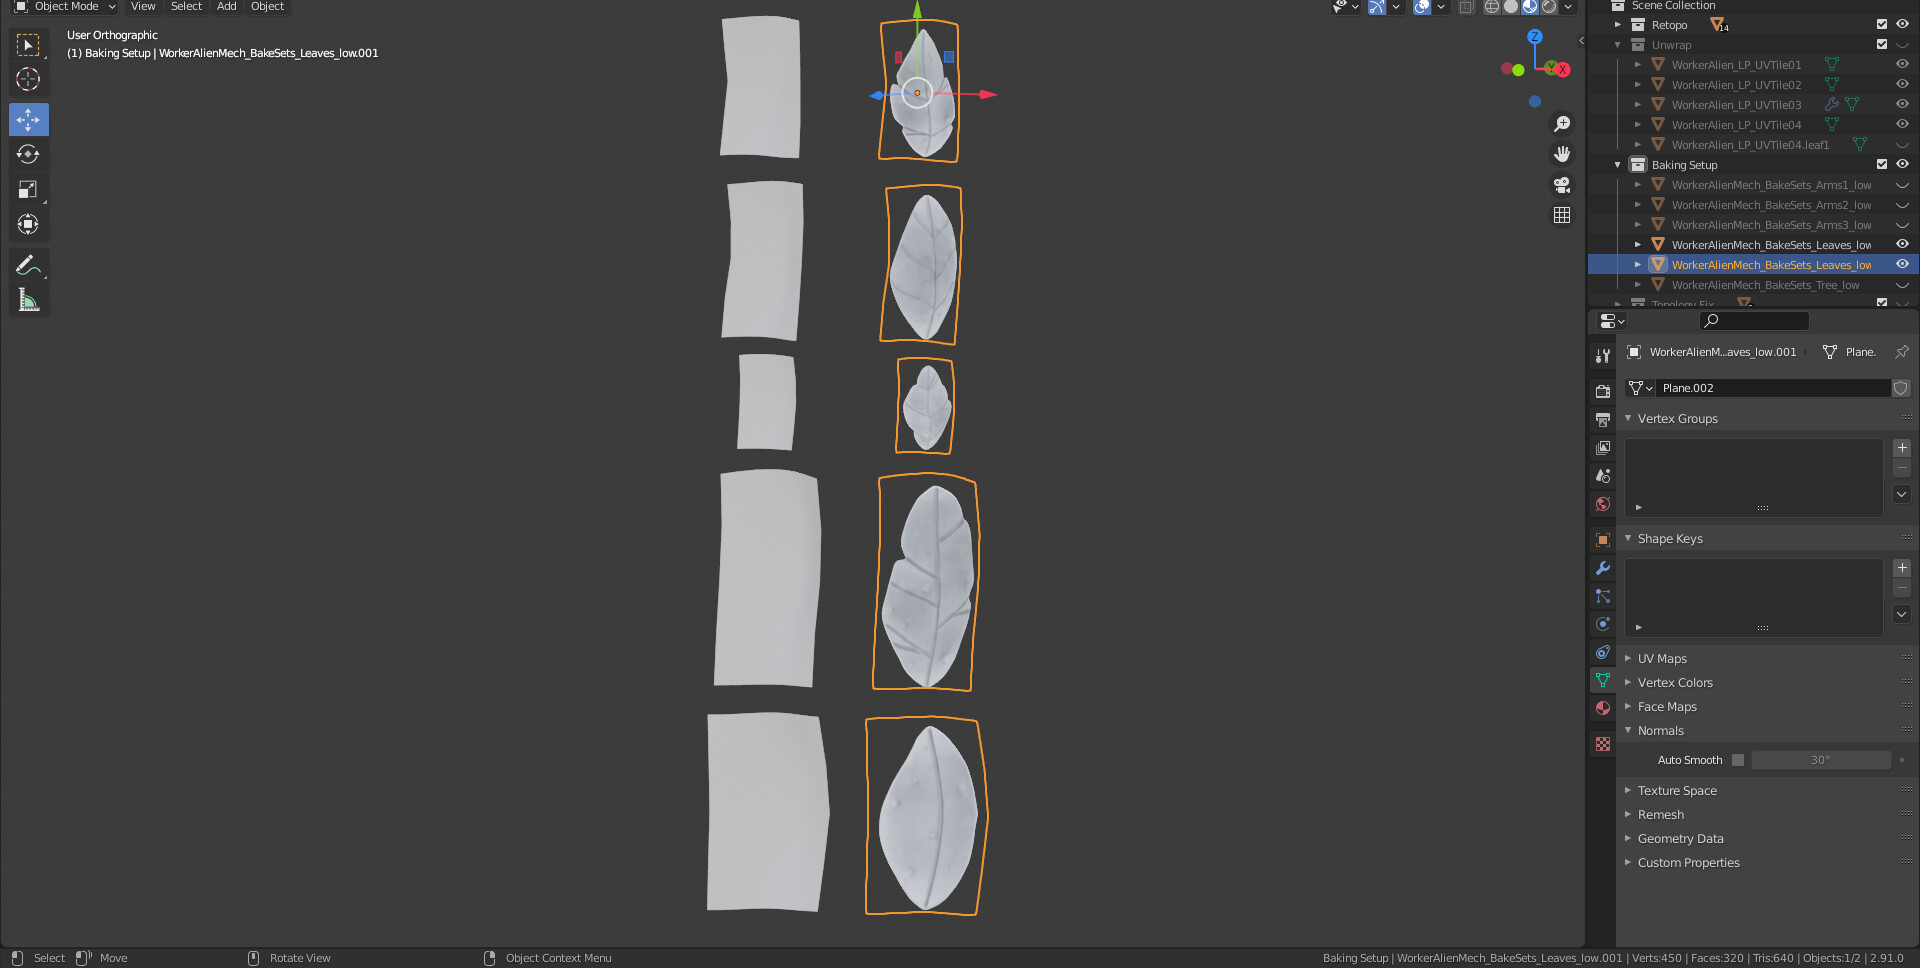
First: leaves! I showed sculpts of my tree leaves in an earlier post, but now I converted them into poly-cards, baked them and arranged them on the branches of the brain tree. It was a relatively easy process.

Next, I arranged them around the branches, making sure there was an even variety spread across each branch to avoid obvious repetition. Then, I used the Grab tool in Blender's Sculpt Mode to lightly nudge the form of some leaves to further remove repetition.

Next: an update on the retopology. Last time, I mentioned that after retopologising, my model was at 160K. However, I reworked it, pushing it further down to a 131,919 tri-count total. It still wouldn't have been enough to meet the Challenge guidelines, but I believe I've achieved the most optimal tri-count for this design. I think any further reduction would not be possible without baking errors or reduced depth/form across the hard surface segments.

Below is the result of the UV unwraps. This was a painstaking process, as there was a lot of separate parts to squeeze in. Initially, I tried to follow the Challenge's guidelines in sticking with two 4k UV tiles. However, on my first test bake, the level of detail across the model was inconsistent and unsatisfactory. Since I dropped out of the challenge, I decided to add an extra UV tileset for the tree and cloth part. After rearranging the UV sets, I did a second test bake, and it was a much better result.

Currently, I'm using three 4K Texture Sets for the Main Body, Cloths, Tree and Arms. The leaves share one 1K Texture Set.

Finally, the baking. The baking process was very tedious and a real challenge for this project, as I haven't baked a 3D asset before with this many intersecting pieces. A lot of trial and error went into this task, as I tried various attempts to make the baking process as smooth as possible. It took a few days, but eventually I managed to find a method. This involved separating the model into various baking groups, for both high-poly and low-poly counterparts respectively. Each group had to be carefully curated so there was zero intersecting meshes in each group. Once these were compiled, I imported them into Marmoset. 

Marmoset is a very handy tool for baking, providing bake group folders that allow you to assign each bake group so the baked textures compile into a single texture map without separate maps overlaying each other. The other handy feature was the automatic cage file option, that you could edit within the Marmoset engine directly. This allowed me to fix baking artifacts within one program. Very useful.

Eventually, I finished baking everything with a high level of detail. There are still some parts that can be tweaked, but I will have to edit them manually within Photoshop because they can't be fixed in Marmoset.

Soon, I can finally begin texturing. This hard-working robot will finally get a splash of colour. :)

Report

12 - Retopology Progress (Artstation Space Opera Challenge 2021 - WIP Blog)

Work In Progress / 09 March 2021

Oh boy. Last few days have been hard for me. Both for this project and disappointment from other things in my life. In an effort to get this done, I've worked fast trying to complete the retopology for the entire robot. After 4 tireless days and one corrupted file later, the total tri-count is currently at... 160k. I'm 60k over the maximum allowed for this challenge. *heavy sigh*

At this rate, I don't think I'll be able to finish this project to a high standard within the time left. There's definitely parts that can be improved in topology like the tree and cloth, but they won't be enough to meet the limit. I've tried to be as efficient as possible, and I've definitely checked through the model for hidden polys that can be removed. I think, from a design standpoint, there may be too many individual parts that all add up and break the topology budget. Another problem may be the amount of spherical parts, because they need extra polygons to retain their rounded shape in the low-poly version.

I still want to finish the project. I've learnt alot about what I can do to make hard-surface art production run more smoothly, such as keeping every part in hard-axis placements up until rigging, before I begin posing. I should also plan what modular parts I will use and retopologise them once, so I don't have to worry about doing it repeatedly.

There's still unwrapping, baking, texturing, rigging AND presentation to do within 7 days. I will continue doing this, but I don't think I will be able to meet the challenge's requirements by the deadline. And I don't want to rush this project if I plan to include it in my portfolio. Whatever happens, wish me luck!


Report

11 - Final Highpoly + Leaves Preview (Artstation Space Opera Challenge 2021 - WIP Blog)

Work In Progress / 09 March 2021

Phew! The highpoly is done. After finishing the cloth, I did some final cleaning and tweaking on different parts of the model. I wish I could do more, but if I spent too long on this piece, I will get tired of it. Below are various shots of the highpoly.

There's also the leaves I sculpted earlier today. I was going to add them via an IMM brush, but when I realised the Low-poly Sub-D levels are removed when converted to IMM, I was annoyed. The low-poly versions are clean, so I didn't want to lose them in the final low-poly. Keeping the leaves modular will also save time and space in the UV map. I'll figure out how to add them to the model later.

 
Report

10 - Modelling/Sculpting - Cloth (Artstation Space Opera Challenge 2021 - WIP Blog)

Work In Progress / 09 March 2021

I'm still pushing through this project, but for the last few weeks, I kept being sidetracked by other tasks with higher priority. One week, I had to prepare for a job interview. Then I had to finish texturing a model for a group project. Then this week, I was offered an art test for a studio I applied for. It's all good, but not only is it taking me longer to complete the high-poly sculpt, the lack of time left means I've been on full throttle for a long while and I'm feeling burnout. However, I'm very close to finishing the sculpt. For now, here's a look into the cloth creation process.

The cloth was fairly straightforward to create, using Masking + Extract on the Main Body mesh to create a cloth that's already folded around in a spherical fashion. The long hang parts of cloth required a simple Extrude, and utilising the variety of Move tools to carefully adjust the cloth in a way that hangs naturally.

The second piece of cloth used the same process, with some extra steps used such as the Deformer tool found in the Gizmo menu. The torus ring was a simple primitive with some hard-surface edges added, and the cloth part wrapping around the ring was also extracted from the ring. Then I took both cloth parts, merged, applied Dynamesh to combine the topology, then used Z-Remesher to give me quick, clean topology to work with. 

With the cloth base ready, the rest of the process is just sculpting. I used reference images of hanging drapery and cloth folds to support the process, and used a variety of brushes to create the various folds.

Report

09 - How does it look so far? (Artstation Space Opera Challenge 2021 - WIP Blog)

Work In Progress / 09 March 2021

Here's how the full high-poly sculpt looks at the moment. Excluding the cloth and tree leaves, it's close to finished.  I might scale down the long arms, as they look very large when connected to a small body frame. There could be additional detail added or fixed, but time is running out. I've already decided to ignore the hanging wires to save the extra headache. 

(Yaaay, you can finally see his backside!)

And below is the current silhouette. It's matching the original concept, so I'm happy.

Report